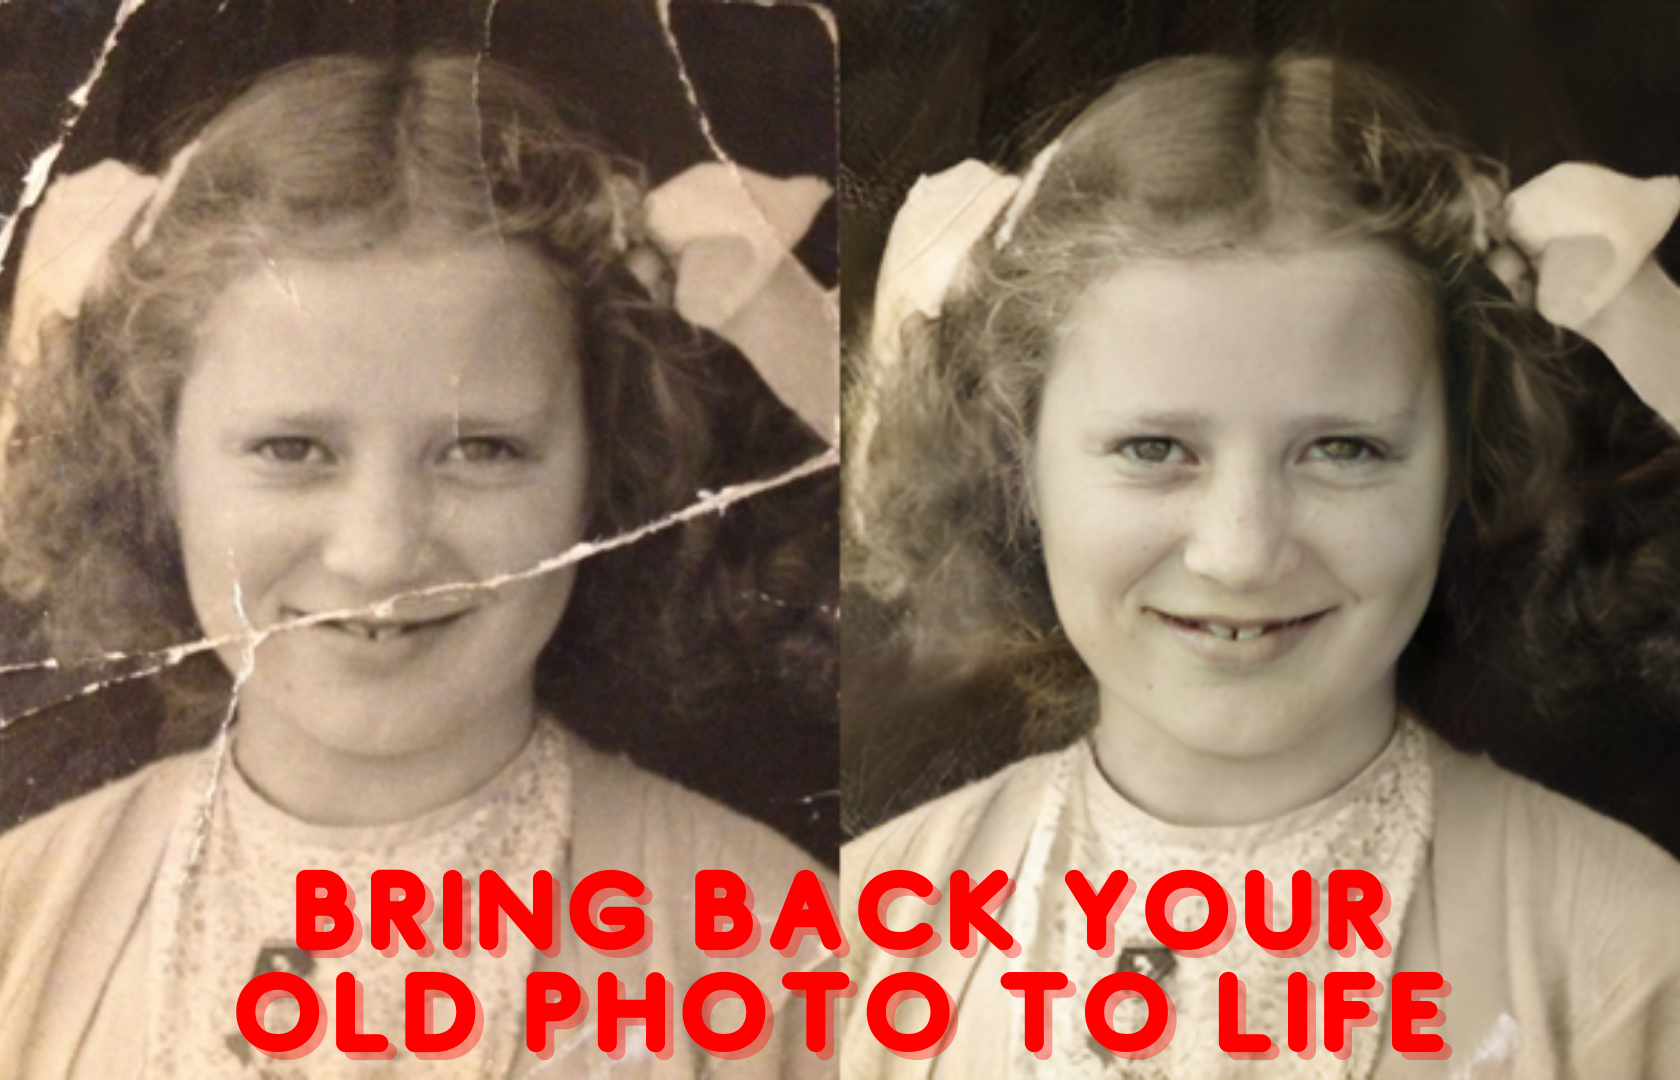
Today I am going to show you how you can bring old photos back to life, through code. It’s okay if you don’t know coding or not comfortable with it. The main intention behind doing this is to show you some cool application of Artificial intelligence which will motivate you to leverage your deep learning/ machine learning knowledge to create something like this.

About- Bring old photos back to life
‘Bring old photos back to life’ is an open-source old photo restoration model, introduced by Microsoft. This paper was released last year on 20th April by Microsoft. This deep learning-based image restoration model has the following features
- Denoising
- Tone Readjustment
- Face Enhancement
- Physical Damage Restoration
- Scratches
- Brown spots
- Food marks
Although we already had this kind of model before, what makes it unique is its surprising result. This model result has surpassed all the previously available models.

How to use this
Alright, we saw enough about it, now it’s time to see how we can use this in our old photo to restore it. The link to this source code in colab is here. We will be using google colab as it provides free GPU and we will need that in our project.
The first thing you have to do is to enable GPU as your hardware accelerator and select python3 as your runtime type (which is selected by default so you don’t have to worry) in your google colab.
Read more– what is the difference between CPU and GPU and which is better?
Step 1:
After you open the notebook I have provided, you will see multiple lines of code with few headings (collapsed, multiple code cell), you don’t have to tweak any code. Just go ahead and execute the code with the heading ‘Git clone’, you can do this by selecting that cell and pressing ‘Shift+Enter’ or you can execute the cell by pressing the play button which you will find on the leftmost side of the cell while hovering.

This will load all the required files and pre-trained model from the GitHub in Colab.
Step 2:

In the second step, we will run the “Set up the Environment” cell which will download few other required models and the libraries. Make sure it is collapsed (it has 2 hidden cells) or else if it expanded you can run both hidden cells individually It will take some time so keep patience
Step 3:

Next, you have to execute the “Run the code” cell which will execute all imported models, and also restore some preloaded images which you can watch by expanding the cell.
Step 4:
Now here is the “Try it on your photos” code cell we will upload our photos. First, expand this collapsed code cell then manually run the first cell, this will ask you to upload your photo (if you want you can upload multiple photos at a time), click on the upload button and then navigate to your desired photo and select it to upload. I will recommend you to rename your images numerically like if your image name is ‘Mypic.png’ then rename it to ‘1.png’. If you are uploading more than 1 image then rename them to ‘2.png’, ‘3.png’, you get the idea right!

Step 5:
If your photo contains any scratches or any folding (physical damage) then put this code (–with_scratch) at the end of the line in the code cell “Run the processing with”. If not then you can skip this step and run the cell.


-Source
Also after executing the cell if you find anything like “Skip + your image name + due to an error” in the output of the cell then you need to resize your image in 500×500 resolution. You will not see this problem always but sometimes it occurs due to the size of the image.

If you get this error then don’t worry you can solve this by resizing your image. You can do this here


Step 6:
This is the final step, everything is done and now you can see your result by executing the next code cell. And if you like you can download your Image by running the last code cell
Hope you like our blog, what do you think about this. If you have any question then don’t hesitate to ask in comment section
Congrats you have successfully restored your image. 😃🎉
Data Scientist with 3+ years of experience in building data-intensive applications in diverse industries. Proficient in predictive modeling, computer vision, natural language processing, data visualization etc. Aside from being a data scientist, I am also a blogger and photographer.