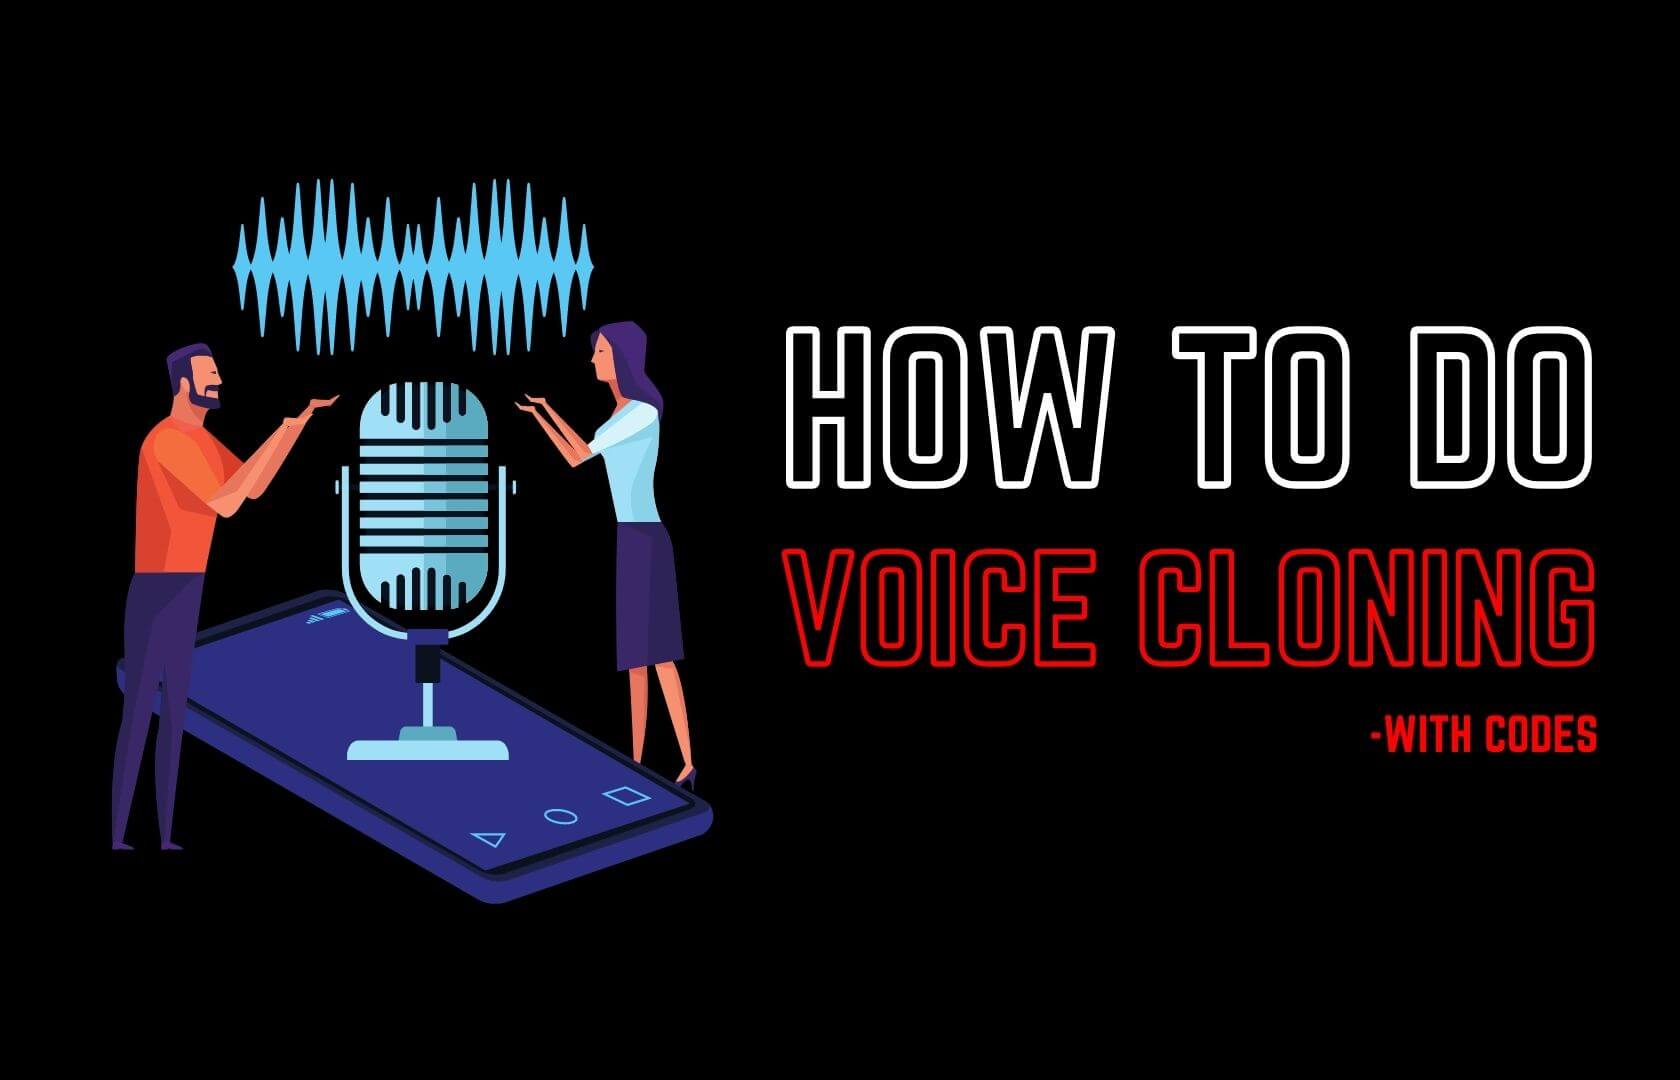
So, today I am going to show you how you can clone your or someone else’s voice. If you don’t know what voice cloning is then understand it as copying someone else’s voice to create a voice clip of someone speaking something which he/she hasn’t. It’s a pretty cool application of deep learning which can be used in numerous ways like in voice dubbing, podcast, gaming, helping someone who has lost their ability to speak, and so on… Besides the advantages of this technology, it also holds some possible risks and the one way to reduce that risk is to spread its awareness, the more the general public will know about it the more they will not get into this kind of trap.
Here is the sample, what voice cloning looks like and you today you will learn to create this.
How This works
The model we are using from the paper (Transfer Learning from Speaker Verification to Multispeaker Text-To-Speech Synthesis by Jia, Zhang, and Weiss et al.,) uses a technique called (Speech Vector to Text to speech, or SV2TTS) which can generate completely new audio from the target’s audio property, it can be done just by taking his/her few seconds of a sample voice. The SV2TTS model is composed of three parts 1) The speaker encoder, 2) Synthesizer, and 3) the Neural vocoder.
These 3 parts worked in the following way
- The speaker encoder generates and embedding from the audio sample passed to it
- Then the synthesizer generates mel spectrogram (A mel spectrogram is a spectrogram where the frequencies are converted to the mel scale) with the speaker embedding(created in previous step) and list of phonemes (smallest units of human sound, e.g., the sound you make when saying ‘a’)
- And finally the mel spectrogram is converted into an audio waveform(which we can listen to) by Neural vocoder.

You can read more about this here
How To Use Voice Cloning? -Codes
Here is my colab notebook with source code, you can copy and edit this.
Now we know how this voice cloning works, now let’s see how we can use this to clone our own or someone else’s voice. So, for that, we will be using misbah4064’s repository, which contains the pre-trained model of real-time voice cloning.
# Cloning the repository
!git clone https://github.com/misbah4064/Real-Time-Voice-Cloning.git
Let’s set the current directory as repository directory.
# Changing the current directory to the repository's directory
%cd Real-Time-Voice-Cloning/
We will need to install the all dependencies library of the model so, lets install it.
# Installing the dependencies
!pip install -q -r requirements.txt
!apt-get install -qq libportaudio2
After that we will download all pre-trained data and model from the author’s drive.
# Downloading pretrained data and unzipping it
!gdown https://drive.google.com/uc?id=1n1sPXvT34yXFLT47QZA6FIRGrwMeSsZc
!unzip pretrained.zip
Now, we will have to setup all required libraries for the audio encoder
# Initializing all the encoder libraries
from IPython.display import Audio
from IPython.utils import io
from synthesizer.inference import Synthesizer
from encoder import inference as encoder
from vocoder import inference as vocoder
from pathlib import Path
import numpy as np
import librosa
encoder_weights = Path("encoder/saved_models/pretrained.pt")
vocoder_weights = Path("vocoder/saved_models/pretrained/pretrained.pt")
syn_dir = Path("synthesizer/saved_models/logs-pretrained/taco_pretrained")
encoder.load_model(encoder_weights)
synthesizer = Synthesizer(syn_dir)
vocoder.load_model(vocoder_weights)
After doing this , we can now tell the model to speak whatever we want to. For that you have to write text statement in the ‘text’ variable
text= 'If you like our blog then pls share our post with your friends
 also if you have any query then don\'t forget to comment down below.'
Now, the real thing comes here, you have to upload an audio sample of someone whose voice you want to replicate (clone), it should be of about 5-10 seconds or you can also upload your own voice clip but make sure that the voice clip has no background noise or words sound of umm.., hmm… Ahh!! etc. The point here is to get the audio from which the maximum feature can be extracted to get the best output.
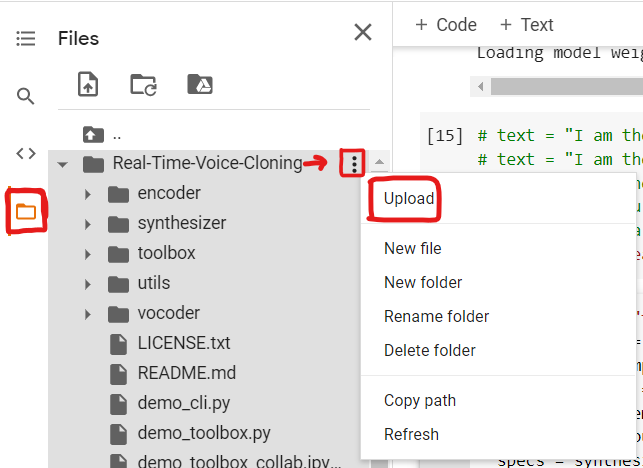
You have to upload your recording in the ‘real-time-voice-cloning’ folder, you can do this by clicking on the three dots on the right side of the folder after that you can navigate to your folder where your recording is, and then select and upload it.
By default Trump’s voice is selected for a demo purpose you can replace it with your voice by changing the in_fpath value with your audio file exact name. Suppose you audio file name is ‘myrec.m4a’ then you will replace in_fpath = Path(“trump10.wav”) by in_fpath = Path(“myrec.m4a”).
Now, everything is done and the model will now synthesize this text and convert it into a audio
in_fpath = Path("trump10.wav")
reprocessed_wav = encoder.preprocess_wav(in_fpath)
original_wav, sampling_rate = librosa.load(in_fpath)
preprocessed_wav = encoder.preprocess_wav(original_wav, sampling_rate)
embed = encoder.embed_utterance(preprocessed_wav)
with io.capture_output() as captured:
  specs = synthesizer.synthesize_spectrograms([text], )
generated_wav = vocoder.infer_waveform(specs[0])
generated_wav = np.pad(generated_wav, (0, synthesizer.sample_rate), mode="constant")
display(Audio(generated_wav, rate=synthesizer.sample_rate))
and here is our final output. 😀
Data Scientist with 3+ years of experience in building data-intensive applications in diverse industries. Proficient in predictive modeling, computer vision, natural language processing, data visualization etc. Aside from being a data scientist, I am also a blogger and photographer.